i'm not much of a fine carpenter, but i dabble. i did build both my computer desk and the electronics desk next to it, and those are passably nice to look at. so, since our home office/shop was getting a bit cluttered and we have a lot of wall space, i figured i'd build a hanging shelf to put some of that stuff on.
cad
i designed the shelf in onshape
because, despite trying multiple times, i keep bouncing off of openscad
– but i have an Emacs Package That Will Fix This

i wound up dropping the turnbuckles in the final shelf, as it felt sturdy enough without them. once i had the shelf cadded and it passed the gf check, i laid out all the pieces on standard 1×4 10' boards, a half-inch 4' × 8' piece of plywood, and some quarter-inch 8' lattice for trim:

after that, i… bought the wood, which was a whole thing i won't get into here.
suffice to say i should just go to the lumber yard nearest me next time. :sweat:
sawing
once the woods were delivered, i proceeded to turn them into more woods.

since i'm doing this in my backyard with a handheld 5.5" circular saw, i had to improvise for the more interesting cuts (read: the ones that any sane person would do on a table saw). i clamped together a lot of temporary jigs and guides, especially for the long rip cuts in the boards & plywood.

stain & finish
after cutting the wood, i stained
one note on wood stain (and generally oil-based wood finishes): the stuff
is nasty (mine, minwax red chestnut, contained aliphatic hydrocarbons). use
appropriate


assembly
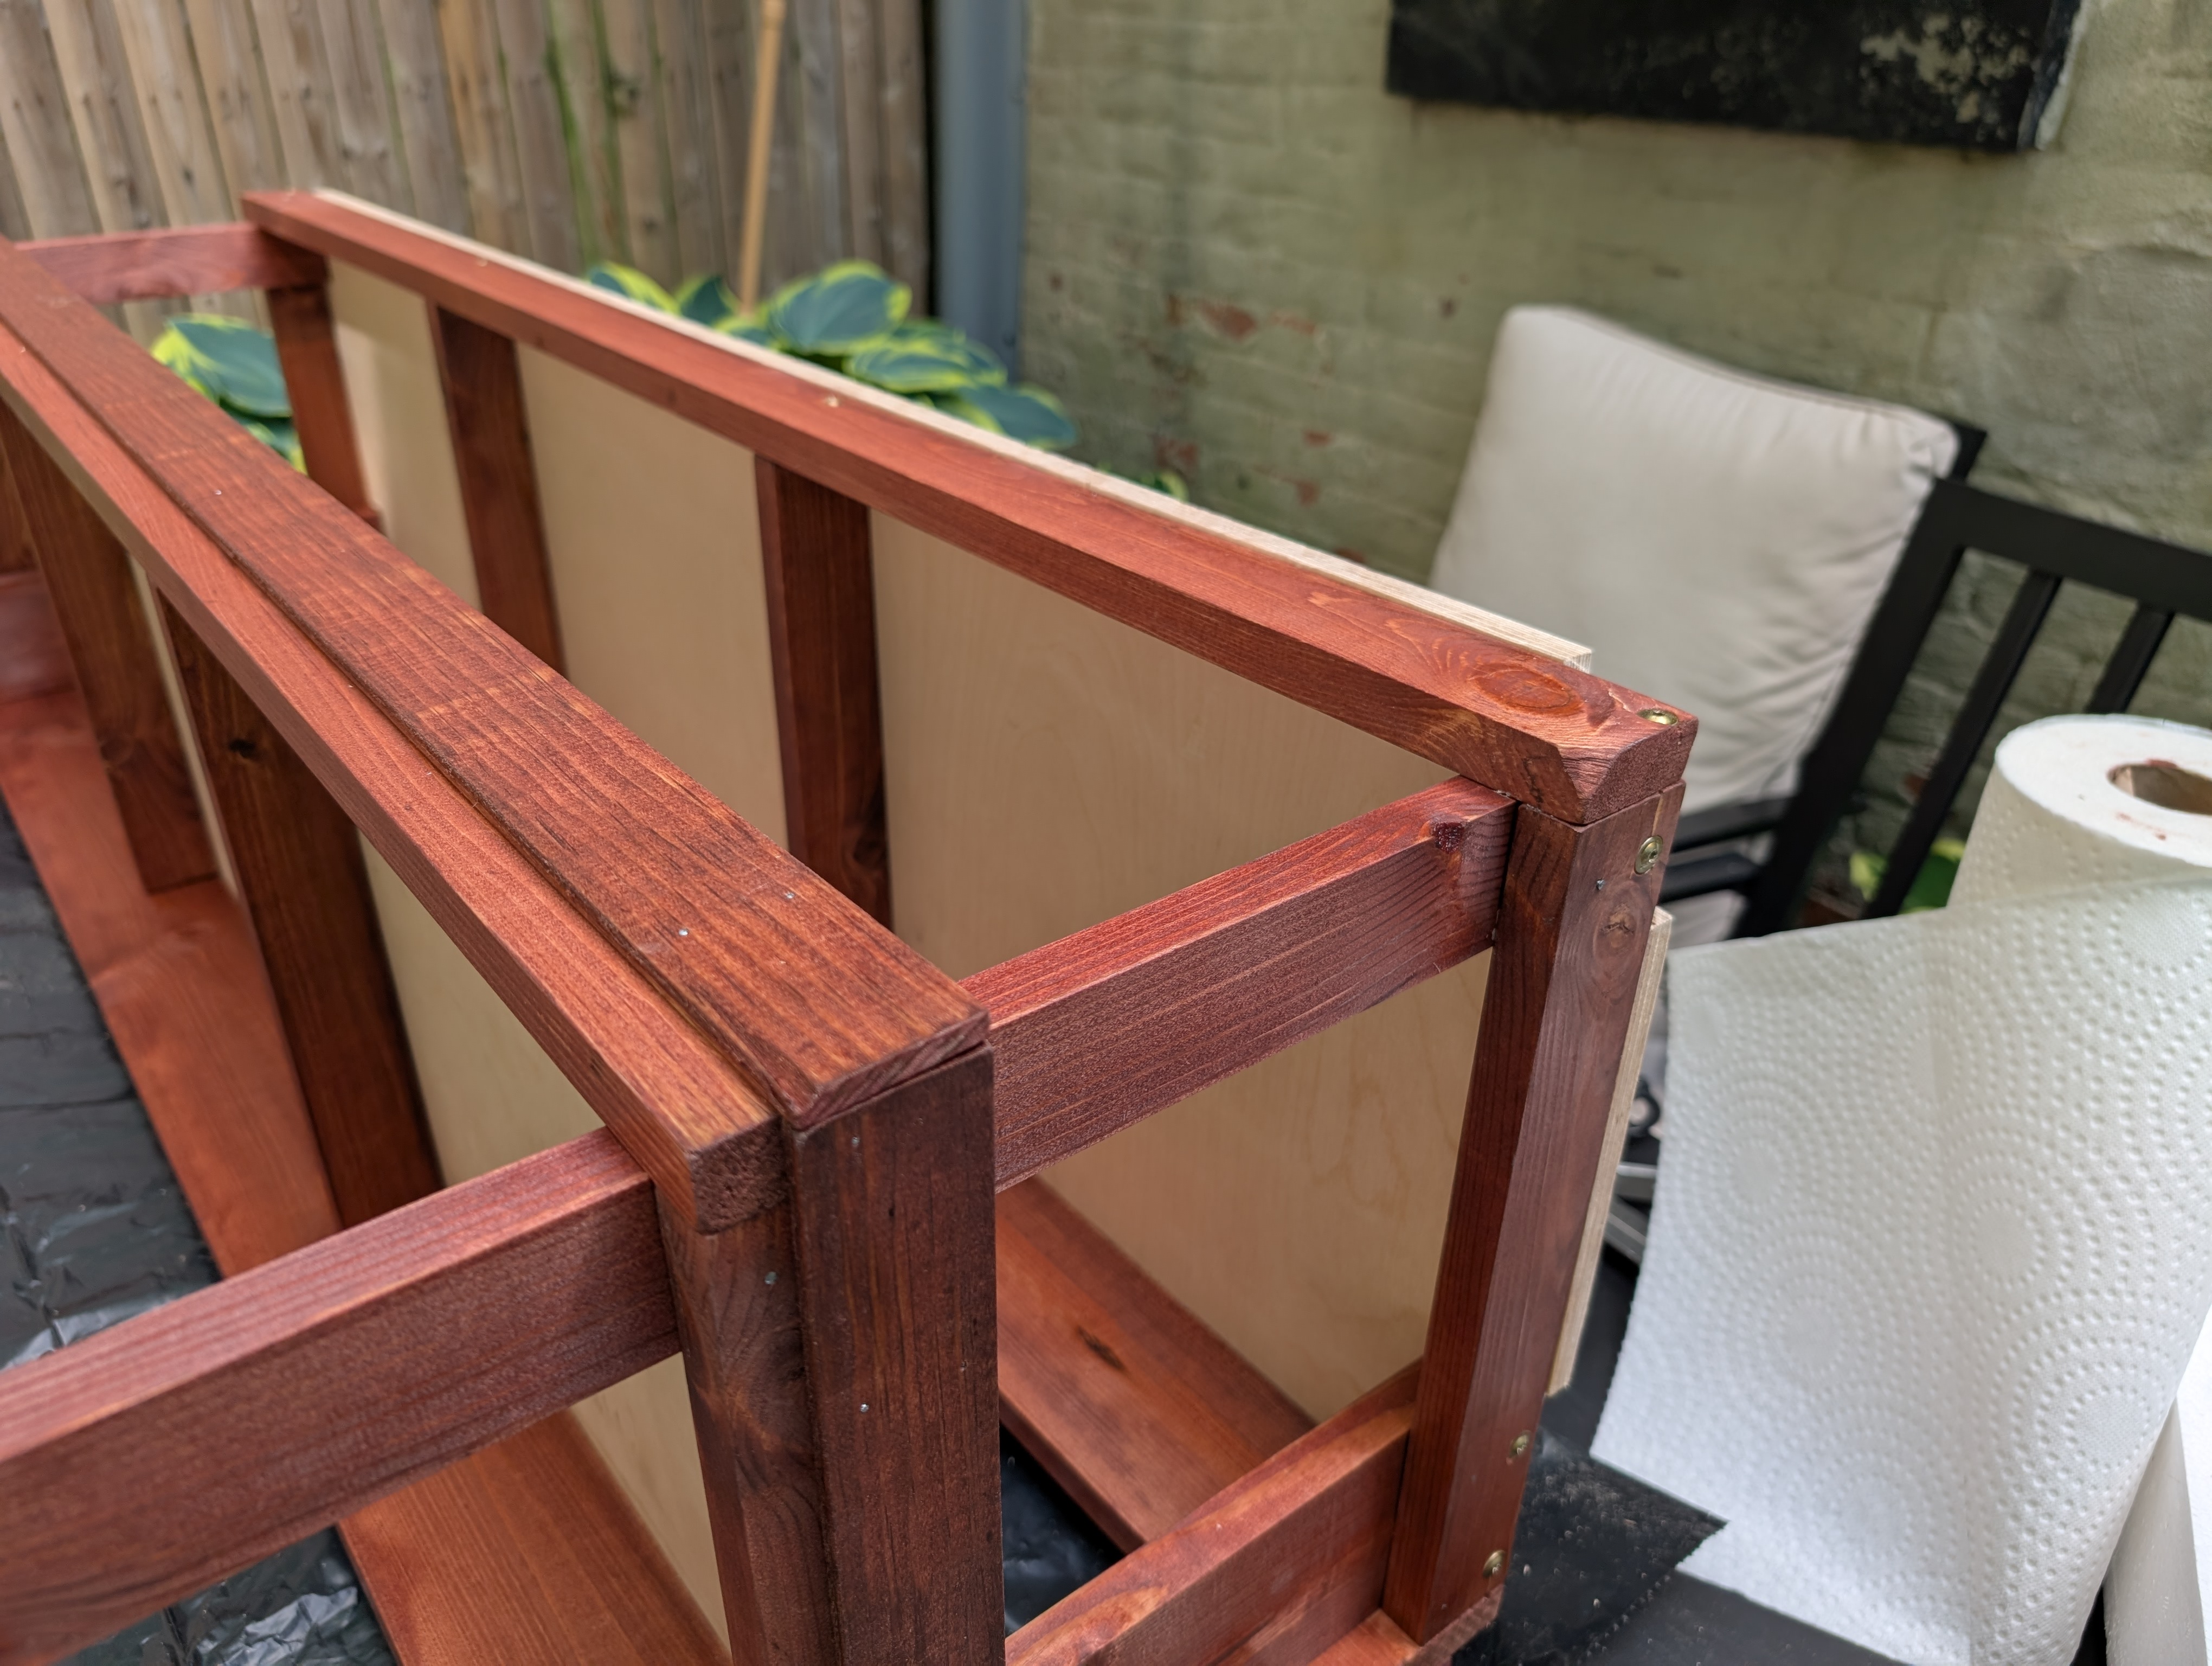
once all the wood was dry (and a few days had passed), it was time to put the thing together! i, aspen, and alex were hanging out in the backyard while i did this. thanks to both of them for tolerating my incessant hammering. i had put together a single frame already, and discovered in doing so that i had fucked up the tolerances on the plywood corner cutouts: due some combination of
- to the warping of the wood, and
- my lack of foresight,
the corners were juuuuuust a bit too small to accomodate the side straps. so i had to re-saw them about one sawblade's width wider to get everything to fit comfortably (which was fine, just annoying). once i did that, though, i was able to build the substructure for each shelf and fit 'em together.

i fastened the frame using cabinet screws (where i could) and finishing nails (where i discovered by splitting the wood that i couldn't). there were nicely hidden by the trim in the end, so i don't really care that it was a bit messy. as far as i can tell, that's how a lot of woodworking gets done.

once i finished assembling the shelf, i coated it all over in a 3 lb cut of shellac in alcohol everclear, actually. i like shellac in pure ethanol as a finish, because what it lacks in durability and scratch resistance it (in my opinion) more than makes up for in repairability and just generally being a pleasure to work with. also it's edible. take that, you urethane enjoyers! and let it dry.
hanging
my father was in town for the last weekend of may, so i roped him into helping me put this thing up. we discovered in the process of drilling pilot holes for the anchors that the wall i had wanted to install it on was, in fact, antique brick and quite friable. so we decided to hang it on a different wall… which we all wound up liking more anyway. i highly recommend the (fliptoggle 3/16 × 2.5) anchors we used! they're very easy to install, very strong, and have the wonderful property that you can unscrew and re-screw whatever's attached to them.
")